6 Min Read
7 Min Read
POSTED 8. 11. 2025
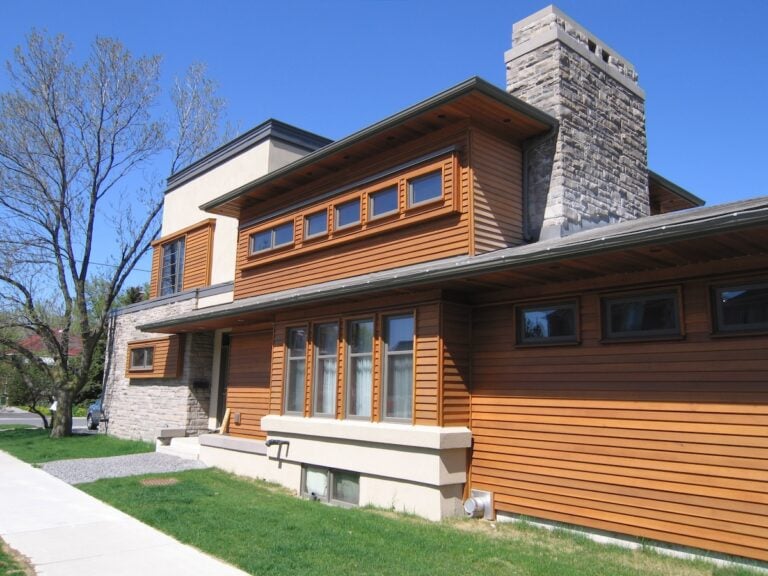
Aluminum fascia boards protect your roof’s edge while giving your home a clean, finished appearance. Installing aluminum fascia might seem challenging, but with the right tools and step-by-step guidance, you can complete this important roofing project successfully.
This comprehensive guide covers everything you need to know about how to install aluminum fascia, from preparation to final touches. Before you begin, it’s important to understand the process to ensure a smooth installation. We’ll walk you through the essential tools, materials, and techniques that ensure a professional-looking result. Whether you’re replacing old fascia boards or installing new ones, this guide will help you protect your home’s roofline effectively.
Here’s what we’ll cover:
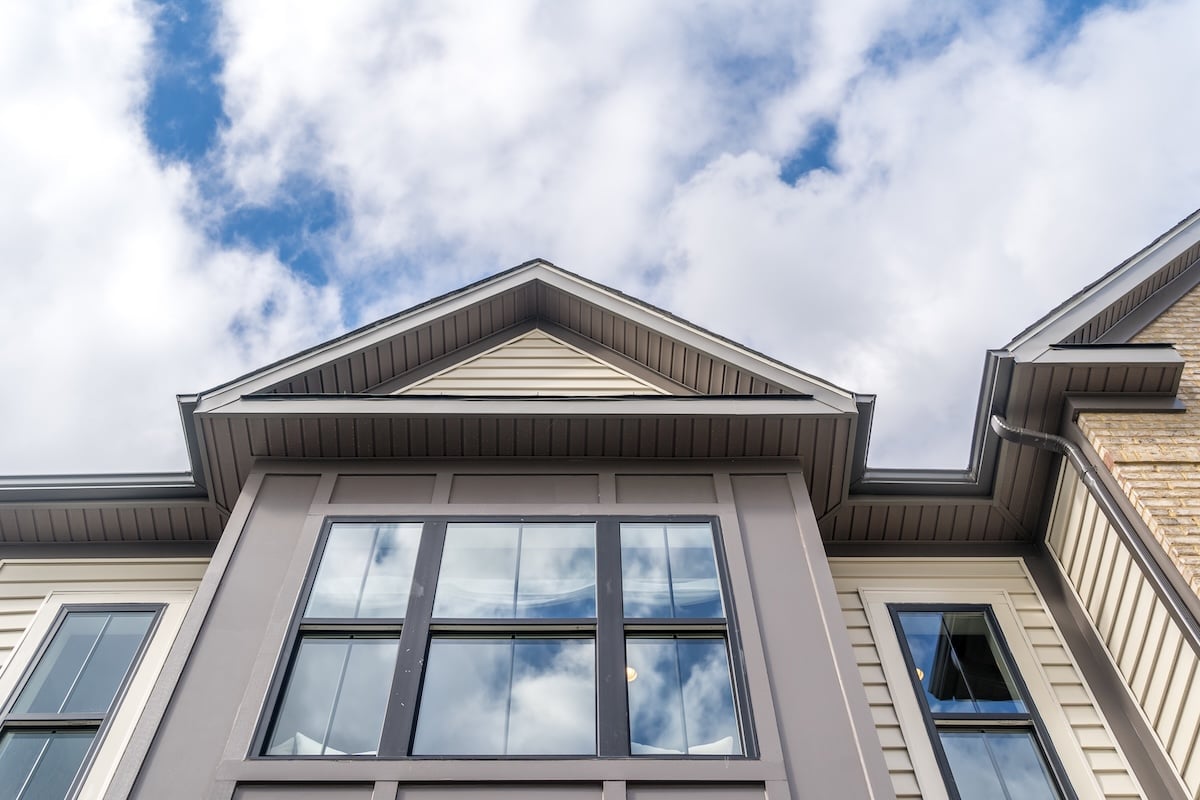
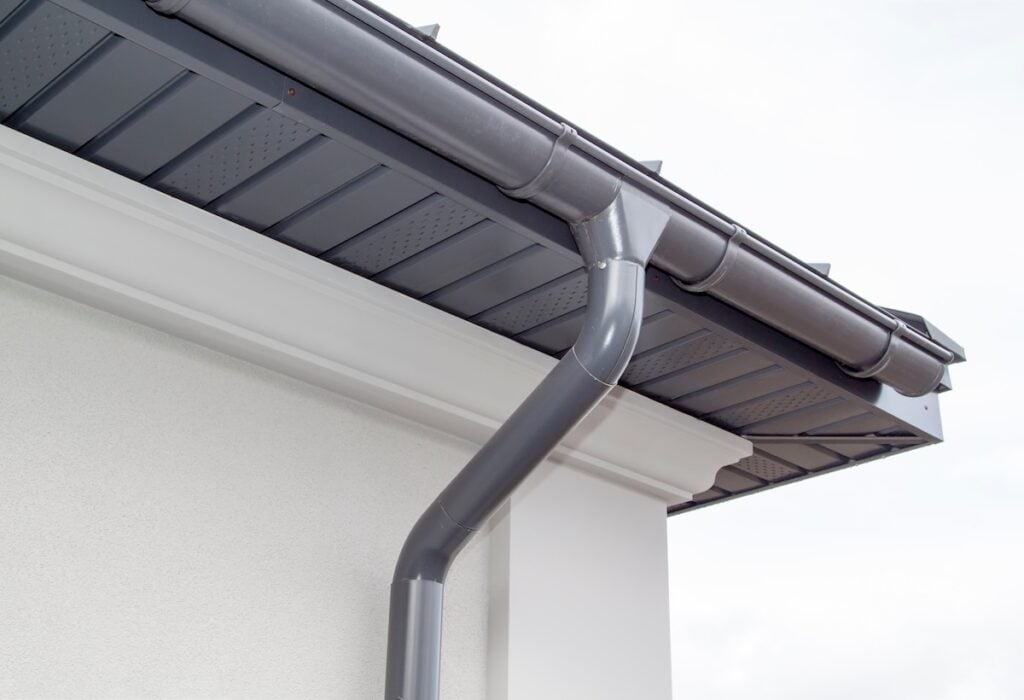
Aluminum fascia is a protective covering that runs along the lower edge of your roof, where the gutters attach (also spelled “facia” in some contexts).
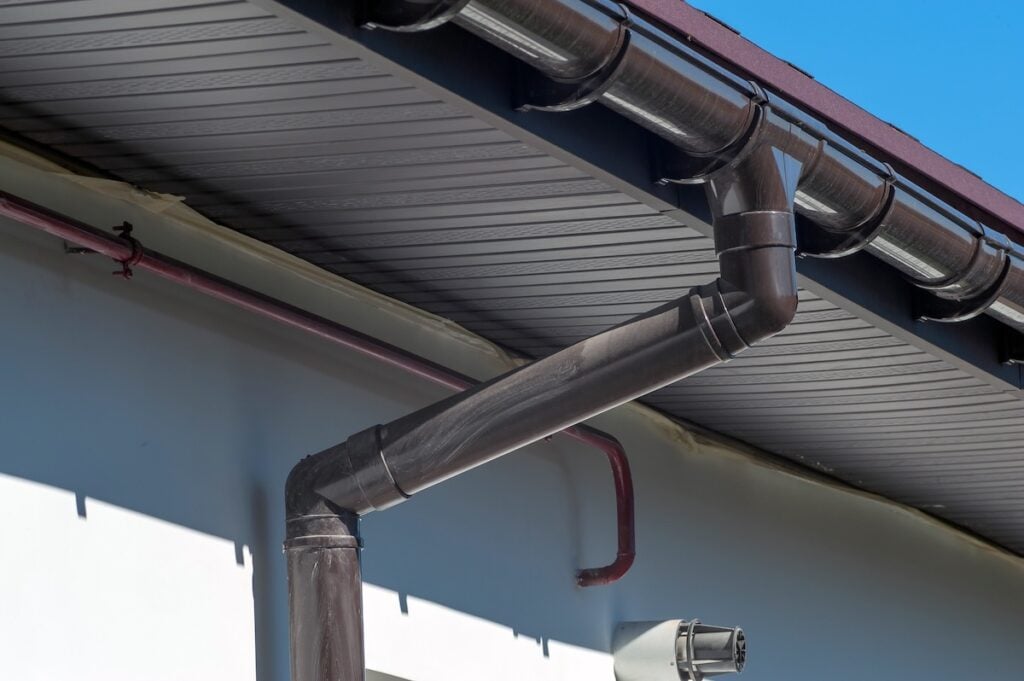
The fascia works together with the gutter system to direct water away from your home, and proper installation of the drip edge above or beyond the fascia and gutter is essential to prevent water infiltration and ensure effective water runoff. This crucial component shields the wooden fascia board underneath from moisture damage, rot, and pest infiltration.
Aluminum offers several advantages over other fascia materials:
Durability: Aluminum resists rust, corrosion, and weather damage better than wood or steel alternatives. It can withstand harsh weather conditions for decades with minimal maintenance, and can improve the overall longevity and appearance of your roofing system.
Low Maintenance: Unlike wood fascia, which requires regular painting and sealing, aluminum fascia maintains its appearance with occasional cleaning.
Cost-Effective: While the initial investment might be higher than wood, aluminum fascia saves money long-term by eliminating frequent repairs and replacements.
Lightweight: Aluminum’s light weight makes it easier to handle during installation and puts less stress on your roof structure.
Versatile Appearance: Available in various colors and finishes, aluminum fascia can complement any home’s exterior design.
Consider installing new aluminum fascia, ensuring it is installed correctly, if you notice:
Follow these detailed steps to install aluminum fascia properly. Each required step must be followed to ensure a correct and durable installation.
Start by measuring the entire perimeter where you’ll install the fascia. Measure each section separately, as roof lines aren’t always perfectly straight. Add 10% extra material to account for waste and mistakes.
Before marking with chalk lines, ensure the fascia board is in the correct position for proper alignment and fit. Mark the fascia board locations with chalk lines to ensure straight installation. Check that your existing roof structure is sound and make any necessary repairs before proceeding.
Carefully remove existing fascia boards, starting from one end. Remove all old nails and screws, and inspect the wooden fascia board underneath. Replace any rotted or damaged wood before installing the aluminum covering.
Clean the area thoroughly, removing debris, old caulk, and loose paint. A clean surface ensures better adhesion and a more professional appearance.
J-channel creates a finished edge where the fascia meets the soffit. Install the J-channel first, ensuring the top edge is level and properly aligned with the fascia board. Secure it with galvanized screws every 12-16 inches.
The J-channel should be slightly angled downward to direct water away from the structure. This small detail prevents water infiltration that could damage your roof structure over time.
Measure each section carefully and cut the aluminum fascia boards to fit. Use tin snips for small adjustments and a circular saw with a fine-tooth blade for longer cuts.
When cutting, leave the protective film on the aluminum until installation is complete. This prevents scratches and maintains the finish quality. Always wear safety glasses when cutting metal materials.
For best results, pre-drill holes in the aluminum fascia before fastening to avoid dimpling and ensure a clean, professional finish.
Begin installation at one end, working systematically across the roof line. Slide the fascia board into the J-channel and align it properly with your chalk line. Continue installing the fascia boards along the entire run of the roofline to ensure a seamless and professional finish.
Secure the fascia with corrosion-resistant nails or galvanized screws every 12 inches, using the correct type of nail and proper nailing technique to avoid dimpling or damaging the aluminum. Don’t over-tighten screws, as this can cause dimpling in the aluminum. The fascia should be snug but not under excessive tension.
At corners, use pre-made corner pieces or carefully miter the aluminum pieces for a clean fit. Overlap joints by at least 2 inches and seal them with exterior caulk.
For long runs, stagger joints so they don’t all align in one area. This creates a more attractive appearance and stronger installation overall.
Remove all protective film from the aluminum surfaces. Check that all screws are properly seated and that the fascia is straight and securely attached.
Apply exterior caulk to any gaps or joints where water might penetrate. Clean up all debris and dispose of old materials properly.
These expert tips will help you achieve professional-quality results:
Ensure adequate ventilation behind the fascia boards. Trapped moisture can cause problems even with aluminum fascia. Install soffit vents if your roof design requires additional airflow.
Aluminum expands and contracts with temperature changes. Leave small gaps at joints to accommodate this movement. Don’t force tight fits that might buckle in extreme weather.
Choose fascia colors that complement your roof and siding. Many manufacturers offer color-matched gutters and trim pieces for a cohesive appearance.
Avoid these frequent installation errors:
Using Wrong Fasteners: Always use galvanized or stainless steel fasteners to prevent corrosion and staining.
Inadequate Support: Ensure the wooden fascia board underneath is solid and properly attached before installing aluminum covering.
Poor Measurements: Measure twice, cut once. Inaccurate measurements lead to gaps, waste, and unprofessional appearance.
Ignoring Drainage: Fascia must direct water away from the structure. Improper installation can trap water and cause damage.
Rushing the Process: Take time to ensure each step is completed correctly. Shortcuts often lead to problems that require expensive repairs.
Proper maintenance extends the life of your aluminum fascia installation:
Clean aluminum fascia annually with mild soap and water. Avoid abrasive cleaners that can scratch the finish. A soft brush removes stubborn dirt without damaging the surface.
Check your fascia boards twice yearly, especially after severe weather. Look for loose screws, damaged sections, or caulk that needs refreshing.
Keep gutters clean and properly aligned to prevent water overflow that could damage fascia boards. Trim tree branches that might scratch or impact the aluminum during storms.
Learning how to install aluminum fascia can save money and give you valuable home improvement skills. However, roofing work involves significant safety risks and requires precise techniques for lasting results.
Don’t risk your safety or your home’s protection with a DIY roofing project. Contact Kingfisher Roofing today for a free inspection and estimate. Let our experienced professionals handle your aluminum fascia installation while you enjoy peace of mind knowing the job is done right.