6 Min Read

9 Min Read
POSTED 4. 17. 2025
Drip edge might be a small, often overlooked component of your roofing system, but it plays a crucial role in protecting your roof and home from potential water damage. Whether you’re building a new roof or maintaining an existing one, learning how to install drip edge can save you from costly repairs down the line. Here’s what you’ll find in this guide:

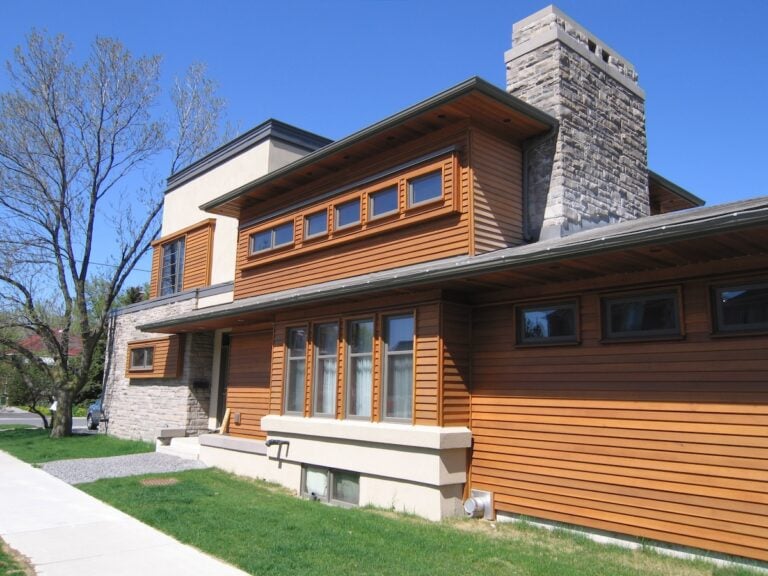
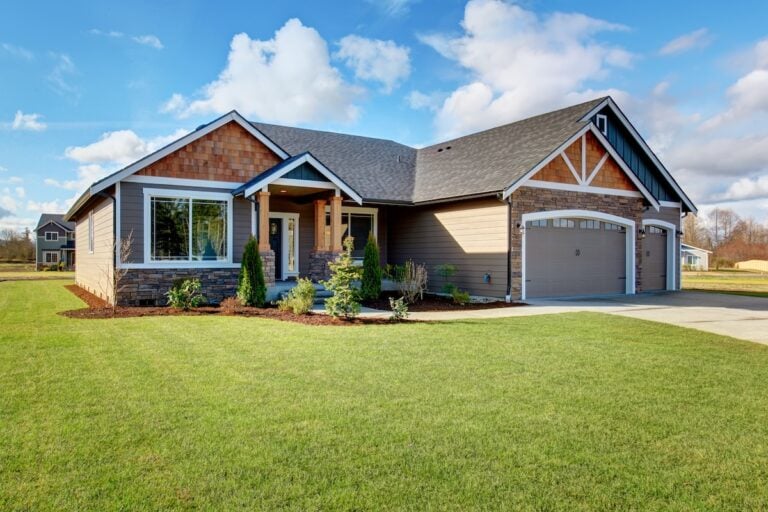
Drip edge is a crucial component of a roofing system, made from metal flashing and installed along the edges of a roof, typically at the eaves and rakes. Its primary purpose is to direct water away from the roofing system, ensuring that rainwater does not seep under your shingles, siding, or into vulnerable areas of the roof structure. By guiding water into the gutters and away from the roof deck, drip edge helps protect the roof’s underlying materials from water damage, rot, and mold growth. Additionally, it adds an extra layer of durability to the roof by reinforcing the edges and preventing wind-driven rain or ice from compromising the roofing system. Beyond its functional benefits, the drip edge also provides a clean, finished look to the roofline, enhancing the overall appearance of your home. Proper installation of drip edge is essential to maintain the integrity of the roof and to extend its lifespan.

Installing drip edge is easier than most people think when you break it down into manageable steps. Here’s your roadmap:
To begin the installation process, focus on the eaves, which are the horizontal edges at the bottom of your roof. These areas are critical for ensuring proper water runoff. Start by installing the drip edge along these edges, positioning it so that it slightly extends off the eave, typically by about half an inch. This slight overhang ensures that water flows directly into the gutter system, rather than pooling on the roof or running down the fascia board, which could lead to rot or other water damage over time. Take extra care to align the drip edge evenly along the length of the eave to maintain a clean, professional appearance. Proper placement here is crucial, as it sets the foundation for effective water management across the entire roof system and helps prevent long-term structural issues caused by moisture.
When working with longer sections of drip edge, it’s important to create a continuous barrier by overlapping each piece. Each section of the drip edge should overlap the next by at least 2 inches. This overlap is critical to creating a seamless and watertight barrier that prevents water from seeping through any gaps between the sections. To achieve this, align the overlapping edge carefully to ensure there is no misalignment or unevenness, as even small gaps can compromise the barrier’s effectiveness. Pay special attention to the direction of the overlaps—ensure that water flows naturally over the top of the overlap rather than getting trapped underneath. This step is especially important in areas that experience heavy rain or strong winds, where water infiltration can cause significant damage if the drip edge isn’t properly sealed. If you want to ensure the drip edge is correctly installed, contact roofing professionals who can guarantee a precise fit and lasting protection for your roof.
After positioning the drip edge along the eaves, it’s time to secure it firmly in place. Use roofing nails to fasten the drip edge directly into the roof deck. Whether you’re using a hammer or a nail gun, make sure the nails are spaced approximately 8 to 10 inches apart along the top of the drip edge. This spacing provides consistent support and prevents the drip edge from shifting or lifting over time, even during severe weather conditions. Be mindful not to overdrive the nails, as this could warp the drip edge or damage the roof sheathing. Instead, ensure the nails are flush with the surface for a clean and secure fit. Properly securing the drip edge is not just about aesthetics—it plays a key role in ensuring long-term durability and reliability of the water runoff system.
Corners can be a tricky part of the installation process, but with the right technique, you can achieve a snug and functional fit. When you reach the corners of your roof, use tin snips or metal shears to carefully cut and bend the drip edge to fit around the corner seamlessly. Start by making precise angled cuts to avoid creating sharp edges that could damage the roofing material or fascia. Then, bend the drip edge to follow the corner’s shape, ensuring it fits tightly against the roofline. This step is essential for maintaining smooth water flow and preventing leaks at vulnerable points where water might otherwise pool or seep through. Taking the time to properly cut and bend the corners will ensure a professional finish and enhance the overall functionality of the drip edge system.
Once you’ve finished installing the drip edge along the eaves, move on to the rakes of the roof, which are the slanted edges that run from the eaves to the ridge. The process is similar to working on the eaves. Start by cutting the drip edge to the appropriate length, making clean cuts to ensure a snug fit. Position the drip edge so that it slightly extends past the rake edge, and secure it with roofing nails, spaced approximately 8 to 10 inches apart, as you did with the eaves. Take care to align the drip edge properly with the roofing material to maintain a consistent and professional look. Proper installation along the rakes is critical, as these areas are often exposed to strong winds and heavy rain, making them more vulnerable to water infiltration if not sealed correctly.
After you’ve completed installing the drip edge along both the eaves and the rakes, take the time to carefully inspect the entire installation for proper alignment. The drip edge should line up neatly with the roofing material, extending slightly over the fascia board and directing water runoff toward the gutter system. Look for any gaps, misalignments, or uneven sections that could compromise the system’s effectiveness. If you notice any issues, make adjustments as needed to ensure everything is securely in place and properly aligned. Proper alignment is critical for directing water runoff as intended and for preventing long-term water damage to your roof, fascia, or siding. A meticulous inspection at this stage can save you from costly repairs down the line.
For added protection against water infiltration, you can choose to seal the overlapping sections of the drip edge. This step is optional but highly recommended, especially in areas that experience heavy rainfall, snow, or harsh weather conditions. Apply a thin, even layer of roofing adhesive or sealant along the overlapping edges of the drip edge. This creates a watertight barrier, ensuring that no water can seep through the overlaps. Be careful not to overapply the sealant, as excessive amounts can lead to an unsightly finish and may not cure properly. Sealing the overlaps not only enhances the durability of the drip edge system but also provides added peace of mind, knowing that your roof is fully protected against water damage, even in extreme weather.

Even small errors can compromise the effectiveness of your drip edge. Here are some pitfalls to watch out for:
For a drip edge to work effectively, it’s crucial to ensure proper overlap between sections. Always overlap sections by at least 2 inches. If the overlap is too small, water may seep through the gaps, leading to leaks and potential damage to the roof and underlying structure. Proper overlap ensures a continuous barrier against water, keeping your roof safe and secure.
Using too few fasteners, such as nails or screws, can compromise the stability of your drip edge. During bad weather, strong winds or heavy rain can easily detach a poorly fastened drip edge, exposing your roof to water damage. To avoid this, make sure to use enough fasteners at regular intervals to keep the drip edge securely in place, even during severe weather conditions.
The placement of the drip edge is critical to its function. It should extend slightly off the roof line, directing water effectively into the gutter. If it’s tucked too far back, water can bypass the gutter entirely, running off the edge and potentially causing water damage to your home’s siding or foundation. Proper placement ensures water flows smoothly into the gutter system, protecting your property from costly damage.
Installing drip edge may seem like a simple task, but even minor mistakes can lead to costly water damage down the line. That’s why trusting a professional team like Kingfisher Roofing is essential. With over 20 years of experience, top-quality materials, and a commitment to precision, we ensure your roofing projects are done right the first time.
Our customer-first approach and glowing 5-star reviews speak for themselves. Ready to protect your home and boost its curb appeal? Contact Kingfisher Roofing today for a free, detailed estimate!