
6 Min Read
7 Min Read
POSTED 8. 13. 2025
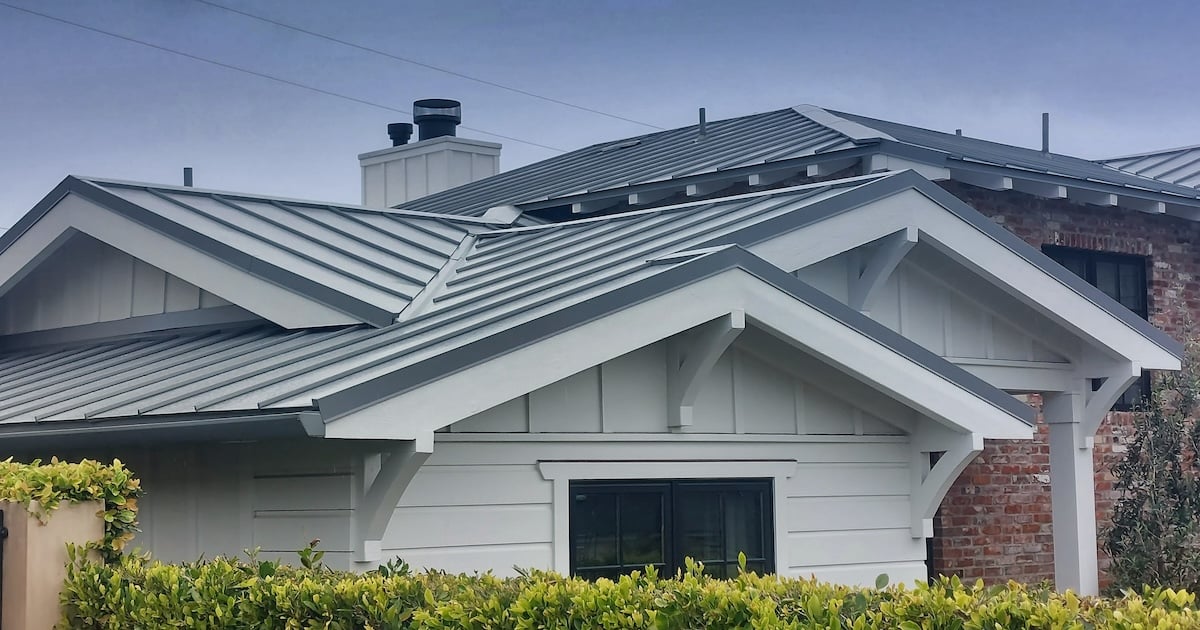
Metal roofs are durable, energy-efficient, and beautiful additions to any home. However, their long-term performance depends heavily on proper installation techniques, especially around critical areas like sidewalls. Sidewall flashing creates a waterproof barrier where your metal roof meets vertical walls, preventing costly water damage that could affect your home’s structure and interior.
This comprehensive guide covers everything you need to know about sidewall flashing installation, from understanding what materials you’ll need to following the step-by-step installation process. We’ll also discuss common mistakes to avoid and when it’s best to call in professional help. Here’s what we’ll cover:
Sidewall flashing is a thin piece of metal, typically made from aluminum, galvanized steel, or copper, that creates a watertight seal where your metal roof meets a vertical wall. This L-shaped piece of material acts as a protective barrier, directing water away from the vulnerable joint and down onto the roof surface, where it can flow into your gutters.
Without proper sidewall flashing, water can seep behind your roofing materials and into your home’s structure. This moisture infiltration leads to rotted wood, damaged insulation, mold growth, and expensive repairs. The flashing essentially acts as your roof’s first line of defense against water damage.
Metal roofs expand and contract with temperature changes, which makes proper flashing installation even more critical. The flashing must accommodate this movement while maintaining a weatherproof seal. Quality sidewall flashing installation can mean the difference between a roof that lasts decades and one that requires frequent repairs.
Before you begin learning how to install sidewall flashing on a metal roof, gather all necessary tools and materials. Having everything ready will make your installation process smoother and more efficient.
Specialized tools needed:
Properly installing sidewall flashing on a metal roof is crucial to prevent water leaks and protect your home from damage. This 8-step guide ensures a secure, long-lasting installation for maximum durability and weatherproofing.
Begin by measuring the length of the sidewall where flashing will be installed. Add an extra 6 inches to your measurement to allow for proper overlap at both ends. Mark your measurements on the flashing material using a straight edge and permanent marker.
Cut the flashing using tin snips or metal shears, making clean, straight cuts. If you need multiple pieces of flashing, ensure each piece overlaps the next by at least 4 inches. This overlap prevents water from finding gaps between flashing sections.
Most sidewall flashing requires a 90-degree bend to fit properly between the roof and wall surfaces. Use a metal brake or create the bend manually over a straight edge. The bend should be clean and sharp to ensure good contact with both surfaces.
Test-fit your bent flashing against the roof and wall to ensure proper alignment. The flashing should lie flat against both surfaces without gaps or buckling. Make adjustments as needed before moving to the next step.
Start installation at the lower end of the sidewall, working your way up. This installation direction ensures that upper pieces of flashing overlap lower pieces, directing water downward and away from potential entry points.
Position the flashing so that it extends at least 4 inches up the wall and at least 6 inches onto the roof surface. The exact measurements may vary based on your local building codes and roof pitch, but these dimensions provide good weather protection for most installations.
Attach the vertical portion of the flashing to the wall using appropriate fasteners spaced every 12 inches. Drill pilot holes to prevent the wall material from cracking, and use screws with washers to create weatherproof connections.
Apply a small bead of sealant behind the flashing before fastening to create an additional moisture barrier. This step is especially important when installing flashing over porous wall materials like wood or masonry.
The horizontal portion of the flashing that lies on the roof requires careful sealing to prevent water infiltration. Apply a continuous bead of sealant along the bottom edge of the flashing where it contacts the roof surface.
Press the flashing firmly into the sealant to eliminate air gaps. The sealant should squeeze out slightly from under the flashing, indicating good contact and coverage.
Secure the roof side of the flashing using self-drilling screws with rubber washers. Place fasteners every 12-18 inches along the length of the flashing, avoiding the high points of metal roofing ribs where possible.
Drive screws until the rubber washers compress slightly, but avoid over-tightening, which can damage the washers or create stress points in the flashing material.
Add a final bead of sealant along the top edge of the flashing where it meets the wall. This top seal prevents water from running behind the flashing. Use your finger or a smoothing tool to create a neat, weather-tight seal.
Also seal around any fastener heads that are exposed to weather. This additional sealing step provides extra protection against water infiltration through screw holes.
Perform a thorough visual inspection of your completed flashing installation. Look for gaps, loose fasteners, or areas where sealant coverage appears inadequate. Address any issues immediately while materials and tools are still accessible.
Test your installation by running water over the flashed area with a garden hose. Start at the top and work your way down, checking for any leaks or water infiltration. This test helps identify problems before they cause interior damage.

One of the most frequent mistakes when learning how to install sidewall flashing on a metal roof is insufficient overlap between flashing pieces.
Each section must overlap the previous one by at least 4 inches to prevent water from finding gaps between sections.
Improper fastener placement can compromise your installation. Never place fasteners in the low points of metal roofing where water naturally flows, as these spots are more prone to leaks and fastener failure over time.
Using incompatible materials can create problems later. Mixing different metal types can cause galvanic corrosion, while inappropriate sealants may lead to premature failure. Always check material compatibility before starting installation.
Understanding how to install sidewall flashing on a metal roof properly is essential for protecting your home from water damage. This critical component of your roofing system requires careful attention to detail, quality materials, and proper installation techniques to perform effectively for decades.
Don’t leave your home’s protection to chance. Contact Kingfisher Roofing today for professional sidewall flashing installation that keeps your home dry and secure for years to come. Our responsive team is ready to help you protect your investment with expert roofing solutions tailored to your specific needs.