6 Min Read
7 Min Read
POSTED 8. 25. 2025
Replacing your windows can transform your home’s energy efficiency, curb appeal, and comfort levels. However, the success of any window replacement project hinges on one critical factor: accurate measurements. Getting your window measurements wrong can lead to costly delays, gaps that compromise insulation, or windows that simply don’t fit.
This comprehensive guide will walk you through everything you need to know about how to measure a window for replacement. We’ll cover the essential tools you’ll need, the step-by-step measurement process, common mistakes to avoid, and when it’s best to call in the professionals. By the end, you’ll have the confidence to tackle window measurements like an expert.
Here’s what we’ll cover in this guide:
Before you begin measuring your windows, gathering the right tools ensures accuracy and efficiency. Professional-grade measurements require more than just a basic tape measure.
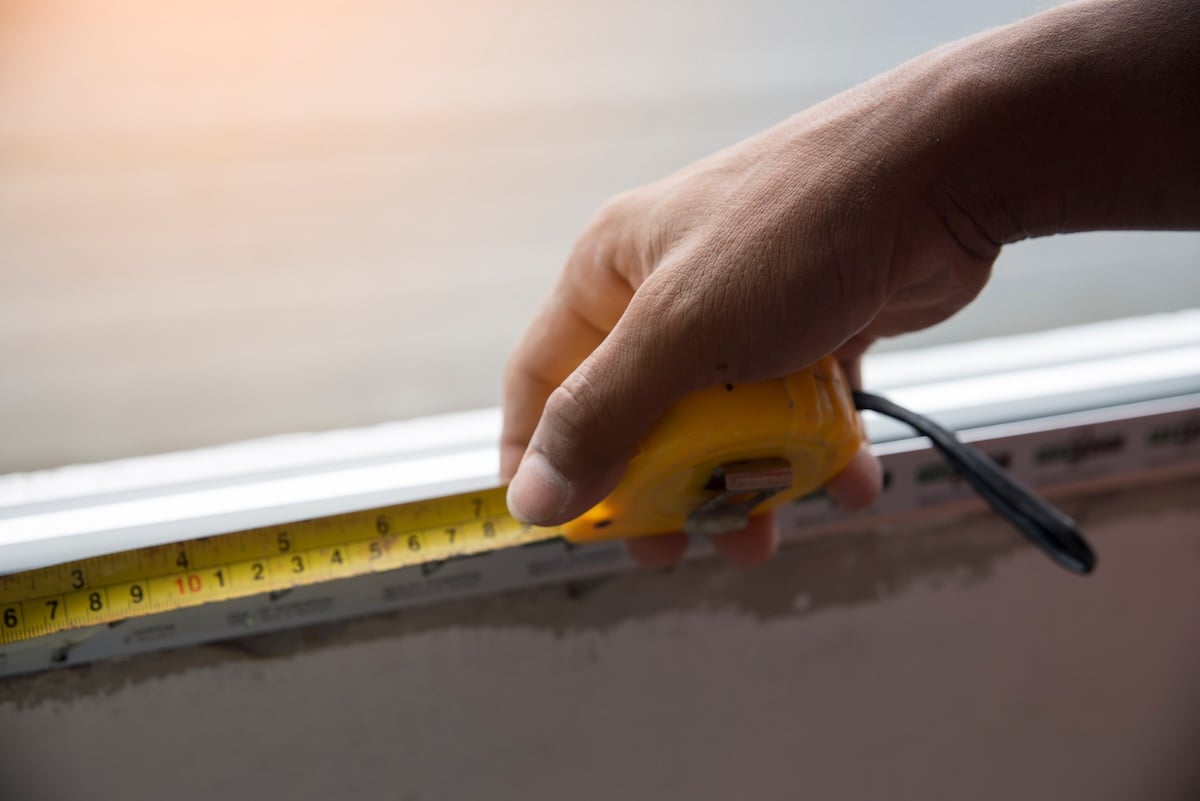
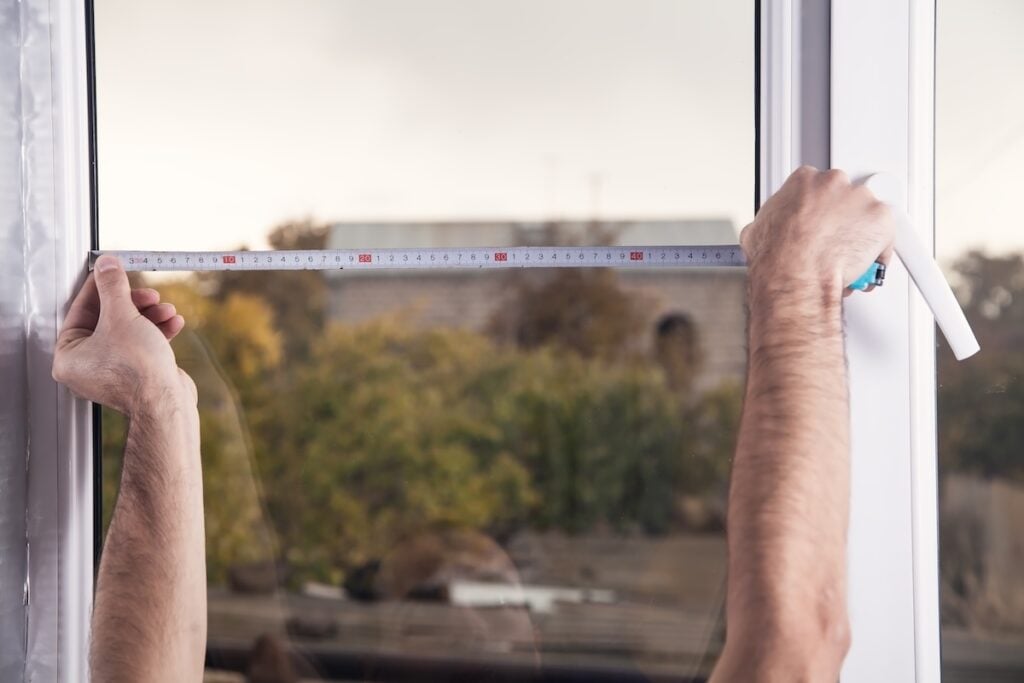
A quality 25-foot tape measure serves as your primary tool. Choose one with a sturdy case and clear markings that are easy to read in various lighting conditions. The tape should lock securely to maintain consistent measurements across multiple readings.
A level helps ensure your measurements account for any settling or structural shifts in your home. Windows may appear square to the eye, but require verification for proper fit. A 2-foot level works well for most residential windows.
Graph paper or a measurement worksheet keeps your numbers organized and reduces errors. Create a simple diagram for each window, noting which measurement corresponds to which dimension. This documentation proves invaluable when ordering replacement windows or discussing specifications with contractors.
A flashlight or headlamp illuminates dim areas around window frames, especially in basements or interior rooms with limited natural light. Clear visibility prevents measurement errors that could prove costly later.
A utility knife helps remove any caulk or trim that might interfere with accurate measurements. Sometimes, getting precise measurements requires accessing the actual window frame beneath layers of paint or sealant.
Safety glasses protect your eyes when removing trim or working around old windows that may have sharp edges or loose glazing compound.
Accurate window measurement follows a systematic approach that accounts for settling, irregularities, and installation requirements. These six steps ensure you capture all necessary dimensions for successful window replacement.
Start by measuring the width of your window opening at three different points: top, middle, and bottom. Use your tape measure to span from one side of the frame to the other, ensuring the tape remains level and straight.
Record all three measurements, even if they appear identical. Homes settle over time, and openings that look square may have subtle variations that affect window fit.
Use the smallest of the three width measurements when ordering your replacement window. This approach ensures the new window fits even if the opening isn’t perfectly square.
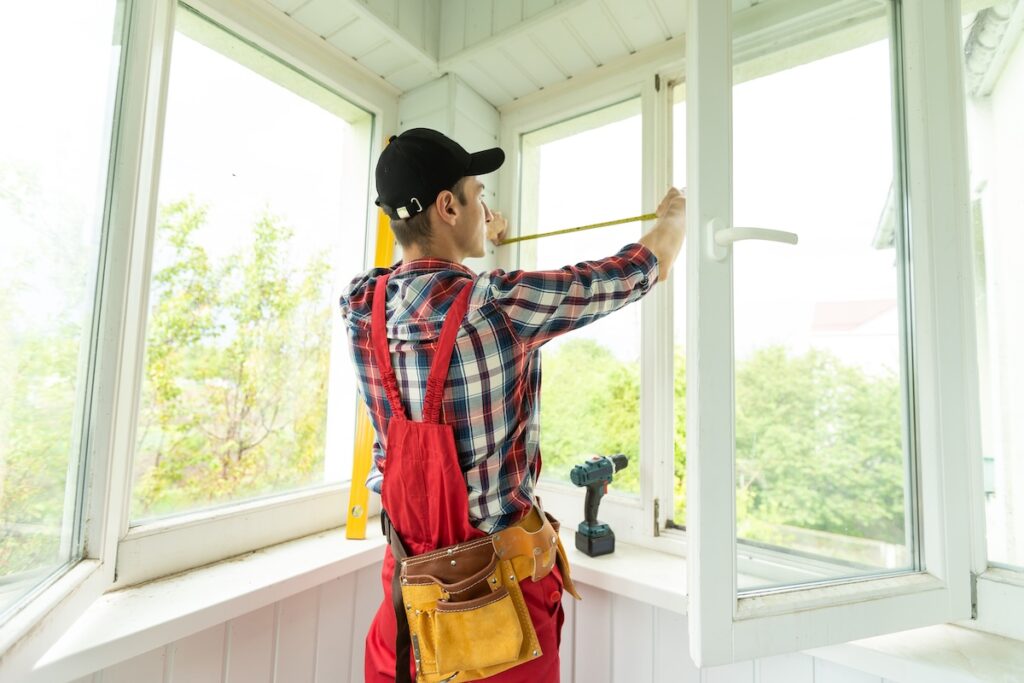
Measure the height at three points: left side, center, and right side of the window opening. Keep your tape measure plumb and straight for each measurement.
Again, record all three measurements and use the smallest dimension when specifying your replacement window size. This conservative approach prevents ordering windows that are too large for irregular openings.
Double-check your height measurements by comparing them to your width measurements. Most standard windows follow common proportional relationships that can help verify accuracy.
Use your level to verify that the window opening is square and plumb. Place the level against each side of the frame to check for vertical alignment, then across the top and bottom to verify horizontal alignment.
Note any significant deviations from the square in your measurements. Severe out-of-square conditions may require additional preparation work before window installation.
Some minor out-of-square conditions are normal in older homes and can be accommodated during professional installation with proper shimming and adjustment techniques.
Measure the depth of the window frame or rough opening, depending on your replacement type. This measurement determines how much space is available for the new window unit.
Insert replacement windows require sufficient depth within existing frames, while full-frame replacements need adequate depth in the rough opening for proper installation and insulation.
Account for interior trim and exterior trim when measuring depth. These elements affect available space and may need removal or modification during window replacement.
Create detailed documentation of all measurements, including sketches that show which dimension corresponds to which part of the window. Include notes about any irregularities or special conditions you observed.
Photograph each window with a tape measure in place to provide visual confirmation of your measurements. These photos serve as backup documentation if questions arise during ordering or installation.
Label your measurements clearly with the room location and any identifying features that distinguish one window from another in multi-window projects.
Repeat the entire measurement process to verify accuracy. Measurement errors are much less expensive to correct before ordering windows than afterward.
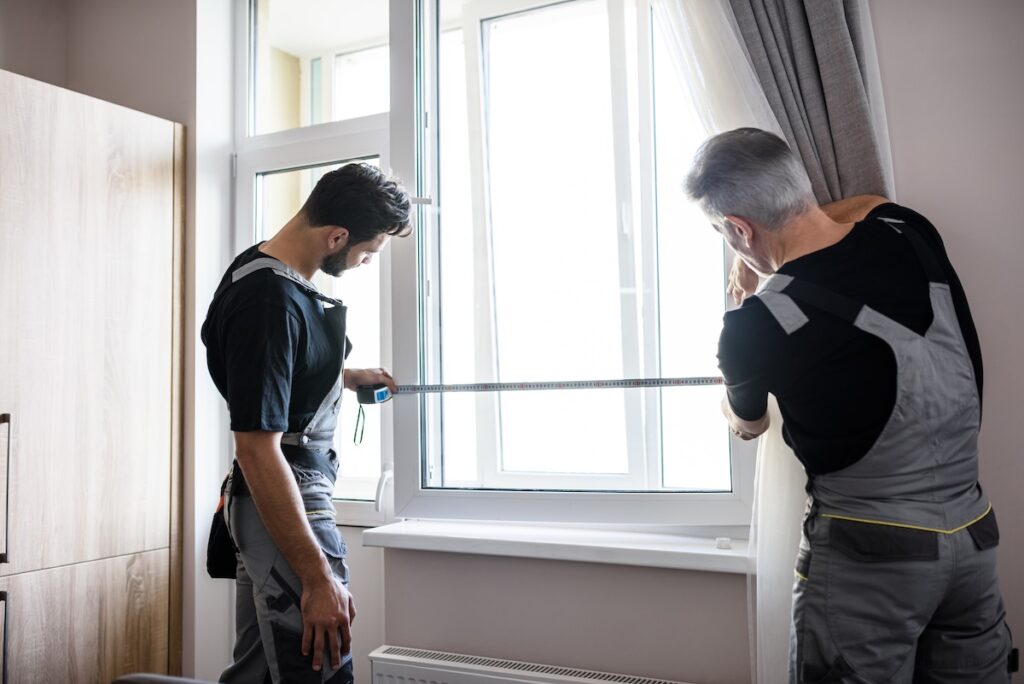
Have a second person verify your measurements if possible. Fresh eyes often catch errors that you might miss after focusing intensely on the measurement process.
Compare your final measurements to standard window sizes to ensure they fall within reasonable ranges. Extremely unusual dimensions may indicate measurement errors that need correction.
| Window Type | Measurement Challenges | Special Considerations |
| Casement Windows | Swing radius and hardware clearance need to be accounted for. | Measure rough opening, verify space for operation, note swing direction and any obstructions like outdoor fixtures or landscaping. |
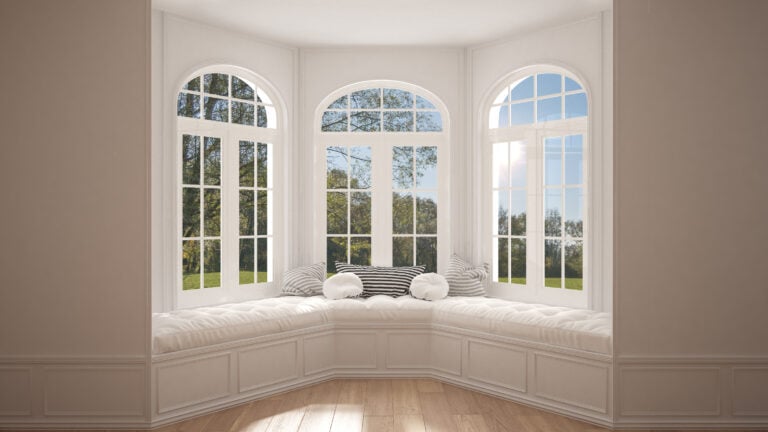
| Bay and Bow Windows | Complex geometry and multiple angles make accurate measurement challenging. | Professional measurement is recommended. If measuring yourself, document angle relationships and wall projection dimensions. |
| Sliding Windows | Track alignment and operation space require careful attention. | Ensure tracks are level, aligned, and verify clearance around sliding mechanisms and hardware for smooth operation. |
While many homeowners can successfully measure standard windows, certain situations benefit from professional expertise. Recognizing when to seek professional help prevents costly mistakes and ensures optimal results.
Unusual window shapes, custom sizes, or architectural features often require professional measurement techniques and specialized knowledge. Professional contractors have experience with complex installations and can identify potential challenges before they become problems.
Multiple-window projects with varying sizes and types also benefit from professional coordination to ensure consistent installation approaches and proper ordering.
If you notice signs of structural settling, water damage, or frame deterioration during your initial assessment, professional evaluation becomes essential. These conditions may require repairs before window replacement and affect measurement requirements.
Professional contractors can assess whether your window openings meet current building codes and identify any modifications needed for compliance.
Professional measurement services save time and provide accuracy guarantees that protect your investment. Many window companies include professional measurement in their installation packages, making it a cost-effective option.
The cost of re-measuring and re-ordering incorrectly sized windows often exceeds the price of professional measurement services, making it a smart investment for peace of mind.
Accurate window measurements form the foundation of successful replacement projects, but professional installation ensures optimal performance and longevity. The measurement process requires attention to detail, proper tools, and understanding of various window types and installation methods.
Don’t leave your window replacement project to chance. Contact Kingfisher Roofing today to let our experienced professionals ensure your window measurements are accurate and your installation exceeds expectations. Your home deserves the best, and we’re here to deliver it.