6 Min Read
6 Min Read
POSTED 5. 16. 2024
A well-shingled roof stands as the safeguard and crown jewel of your home, protecting it from the elements while adding aesthetic value that’s often the envy of the neighborhood. While professional installations are preferred for their precision and warranties, there’s a certain joy and sense of accomplishment in DIY projects.
Inside this blog:
For those ready to take on the challenge, this comprehensive guide on shingling your roof walks you through the process from start to finish. Keep reading to learn how to shingle a roof.
Prior to any hard graft, it’s essential to carry out some vital preparatory steps to ensure safety and an effective installation. This section will detail the necessary safety precautions, the tools required, and how to prepare the work area.
When it comes to working on your roof, safety should be your primary concern. Here are some mandatory safety precautions to bear in mind:
The tools and roofing materials required for shingle installation vary. Common tools include:
Collated roofing nails, a nail gun, and a roofing shovel can speed up the process but are optional.
Preparing the work area also involves more than tools. Organize your materials and arrange them close to your work area to minimize trips up and down the ladder. This strategic planning can significantly enhance safety and efficiency.
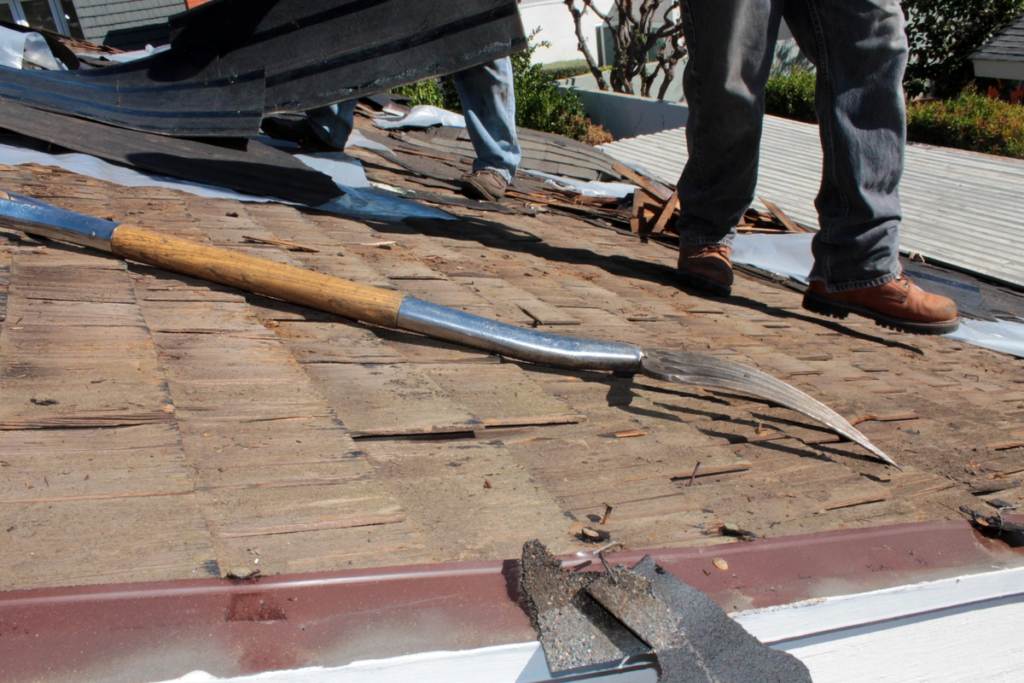
The first step in replacing a shingled roof is to remove the old shingles. This is a labor-intensive and potentially dangerous task that requires patience and focus to get right.
Start with protective gear, including work gloves, to cover your hands. Then begin by using the pry bar and hammer to loosen the shingles, working from the bottom of the roof up.
Here’s a quick overview of what to expect:
Once all the shingles are removed, it’s key to inspect the roof deck for damage. If you find any rot or weak spots, cut out the damaged area and replace it with new plywood. This step ensures a solid foundation for the new shingles.
The integrity of the roof deck directly impacts the lifespan and effectiveness of your shingles. Here’s how to prepare it for installation:
Proper attic ventilation is key to reducing moisture and heat buildup in the attic space, which can prolong the life of the shingles. Ensure you have enough soffit and ridge vents to promote airflow. Insulation also plays a critical role in maintaining a consistent attic temperature, preventing ice dams, and heat loss.
The underlayment is a water-resistant barrier that protects the deck and the interior of your home from leaks. It also serves as an important interim waterproofing measure in case your shingles are blown off or damaged.
A metal strip called a drip edge should be placed along the eaves and rakes to keep water from getting under the shingles and into the deck. This is a crucial step in water management for your roof.
With the roof deck prepared, it’s time to start laying down the new shingles. This section will walk you through the process step by step:
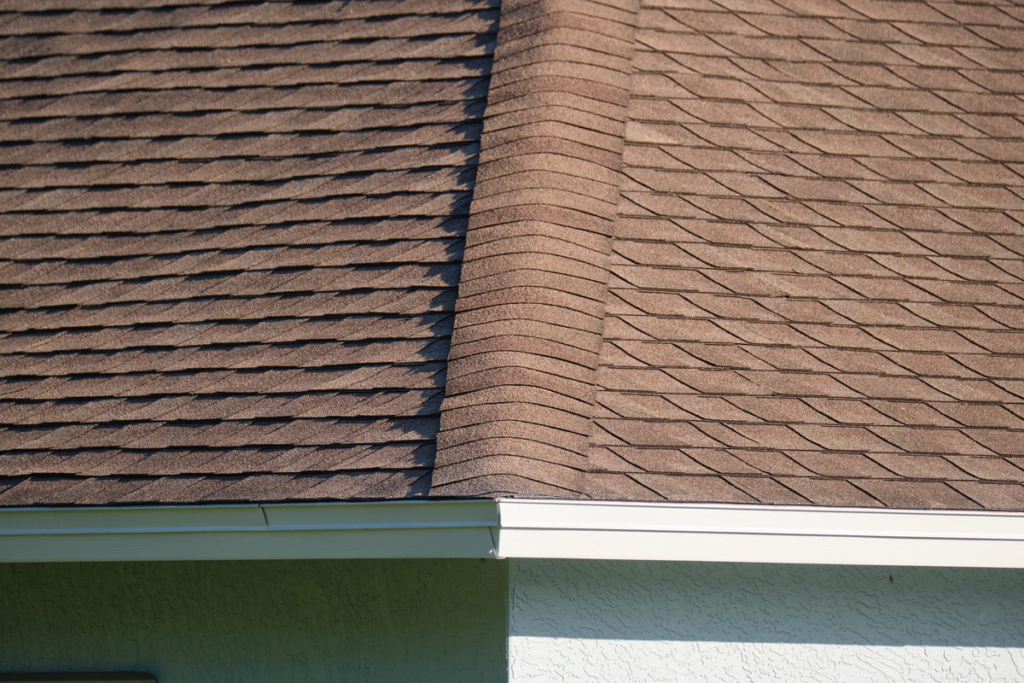
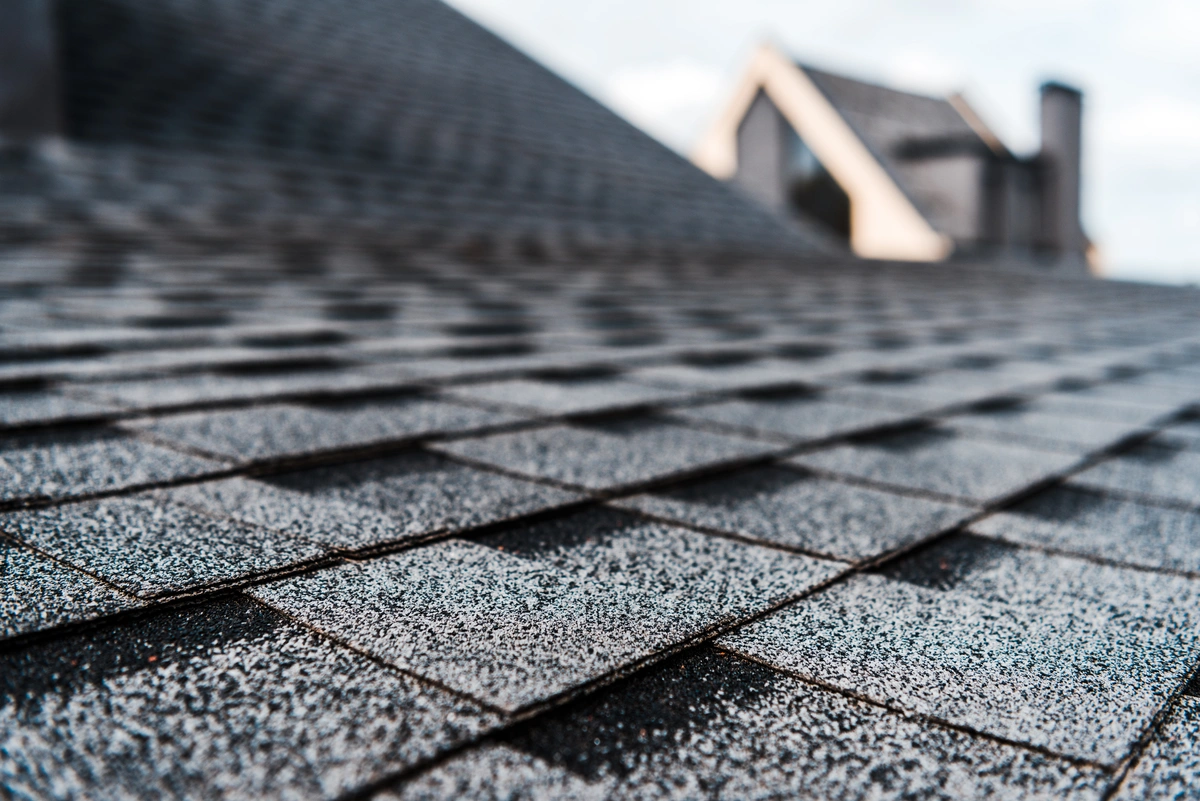
There are several types of shingles, including asphalt, wood, metal, and slate, each with its own advantages. For durability, cost, and versatility, asphalt shingles are a popular choice.
When selecting asphalt shingles, consider the weather and your home’s architecture. In areas prone to high winds, look for shingles with a higher wind rating. For homes with steep roofs, consider high-profile shingles that provide more water runoff.
Always begin with a dry and clean roof deck. The first row of shingles, called the starter strip, is crucial for a well-sealed roof. The starter strip is a strip of shingle or a rolled membrane installed along the eaves of your roof. It allows for a straight edge and offers the initial layer for the rest of your shingles.
Once the starter strip is in place, you can begin laying the shingles. Be sure to follow the manufacturer’s installation guidelines for your specific type of shingle. Typically, you’ll start on the lowest part of the roof and overlap each shingle to shed water effectively.
Using the proper technique to nail down shingles is essential to their security. Here are the key steps:
After reading this guide, you should feel a greater sense of confidence in taking on the task of shingling your roof. Should you decide that you’d prefer the expertise of a professional, the team at Kingfisher Roofing and Siding is ready to assist you with your project. From the initial consultation to the final nail, we’re committed to ensuring your home’s protection is in top condition. Contact us today to discuss your roofing needs and schedule an appointment.