6 Min Read

6 Min Read
POSTED 2. 12. 2025
If you’re considering installing a metal roof, you’ve made an excellent choice. Metal roofs are known for their durability, energy efficiency, and sleek appearance. But while metal roof installation might seem daunting at first glance, our step-by-step guide will make the process clear and manageable. We’ll walk you through everything you need to know, including:

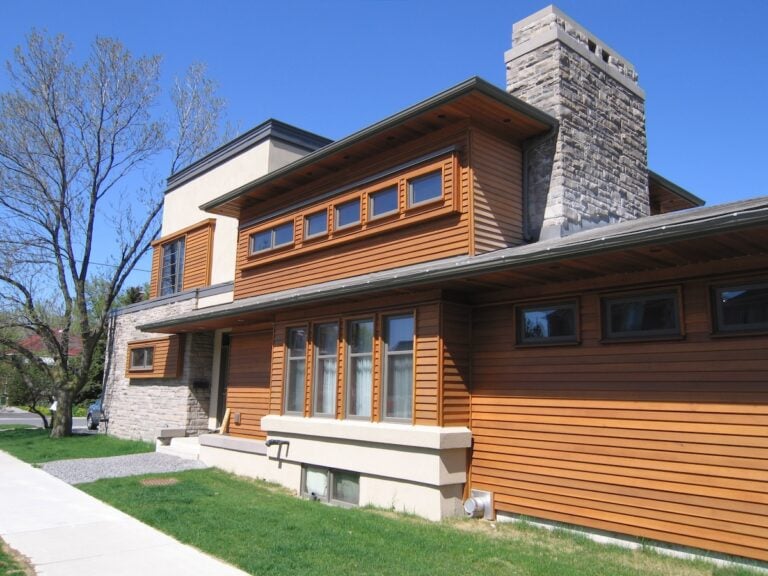
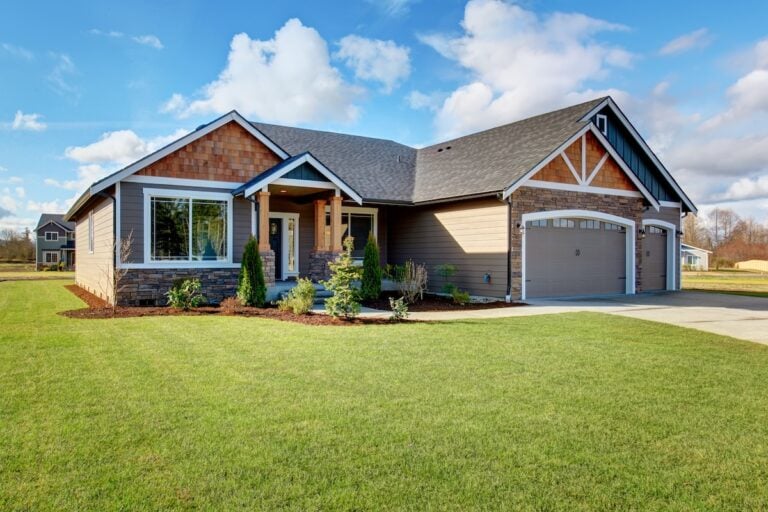
Before diving into the installation process, it’s important to understand why metal roofs have become a popular choice for homeowners in recent years. Their growing appeal is due to a combination of durability, energy efficiency, aesthetic versatility, and eco-friendliness, making them a smart investment for many.
One of the biggest advantages of metal roofs is their exceptional durability. Unlike traditional roofing materials, metal roofs are built to withstand harsh weather conditions, including high winds, heavy rain, and even hail. With proper maintenance, they can last anywhere from 40 to 70 years, far outlasting many other roofing options. This longevity makes them a cost-effective choice over time, as they often require fewer repairs and replacements.

Installing a metal roof involves precision and careful attention to detail, but it can be broken down into these clear steps:
Begin by rolling out the waterproof underlayment across the surface of your roof. This is a crucial step to create a protective barrier against water, ensuring your roof remains leak-free. Carefully unroll the underlayment, making sure it covers the entire roof evenly. Once in place, fasten it securely using roofing staples or nails. Pay close attention to ensure the underlayment is smooth, with no wrinkles or gaps that could compromise its effectiveness.
When installing your roof, metal or asphalt shingles, always begin at the bottom edge. Starting at the lower edge of your roof, lay your metal panels or shingles in rows, working from the bottom upwards. This layering technique ensures that water cannot seep through the seams. Each panel or shingle should overlap the one below it to create a watertight seal. Take your time to align each piece properly for a clean and effective installation.
Once your panels or shingles are in place, it’s time to secure them. Use screws or fasteners to attach each panel firmly to the roof deck. For optimal water resistance, the screws should be driven through the raised ridges of the panels rather than the flat areas. This minimizes the risk of water leaks. Ensure each panel is tightly fixed but not overly tightened, as this could damage the material.
Roofs often have unique features such as vents, skylights, or chimneys, which require precise cuts in the metal panels or shingles. Using tin snips, carefully cut the panels to fit snugly around these obstacles. This step requires patience and precision to avoid leaving gaps. Once the panels are cut and fitted, apply roof sealant around the edges of these features to provide an added layer of protection and prevent water from infiltrating through the seams.
Flashing is a critical component in preventing water damage. Place the flashing around the edges of the roof, along valleys, and anywhere the roof meets a vertical wall, such as a chimney or dormer. Flashing helps redirect water away from vulnerable areas and ensures it flows safely off the roof. Secure the flashing tightly and inspect all seams to confirm there are no gaps or loose edges that could allow water to seep in.
Finally, complete your roof installation by adding ridge caps along the peak of the roof. Ridge caps not only seal the top of the roof, keeping out water and debris, but they also provide a polished, finished appearance. Carefully align each ridge cap and secure it firmly in place, ensuring there are no gaps. Tighten the screws to hold the ridge caps securely while avoiding over-tightening, which could cause them to crack or shift. A properly installed ridge cap will ensure your roof is both functional and visually appealing.

After completing your metal roof installation:
Take the time to carefully inspect your metal roof for any potential issues. Look for loose screws that could compromise the structure, improperly sealed edges that might allow water to seep in, or uneven panels that could affect the overall appearance and performance. Identifying these problems early can save you from costly repairs in the future.
Routine maintenance is key to keeping your metal roof in top condition. Clear any debris from gutters to ensure proper water drainage and prevent clogging. Additionally, schedule annual professional inspections to address any wear and tear, ensuring the long-term integrity and functionality of your roof.
Once your roof is properly maintained, it’s time to enjoy the many advantages of a metal roof. From its sleek, modern appearance to its incredible durability and energy efficiency, a well-maintained metal roof offers lasting value and peace of mind for years to come.
When it comes to metal roof installation, trust the experts at Kingfisher Roofing to deliver unmatched quality, safety, and reliability. With over 20 years of experience, a 4.9-star Google rating, and BBB accreditation, our team has built a reputation for excellence.
We handle every step of the process with precision and care, ensuring your roof not only looks great but lasts for decades. Don’t settle for less when it comes to protecting your home. Contact Kingfisher Roofing today for a free consultation and let us bring your roofing vision to life!